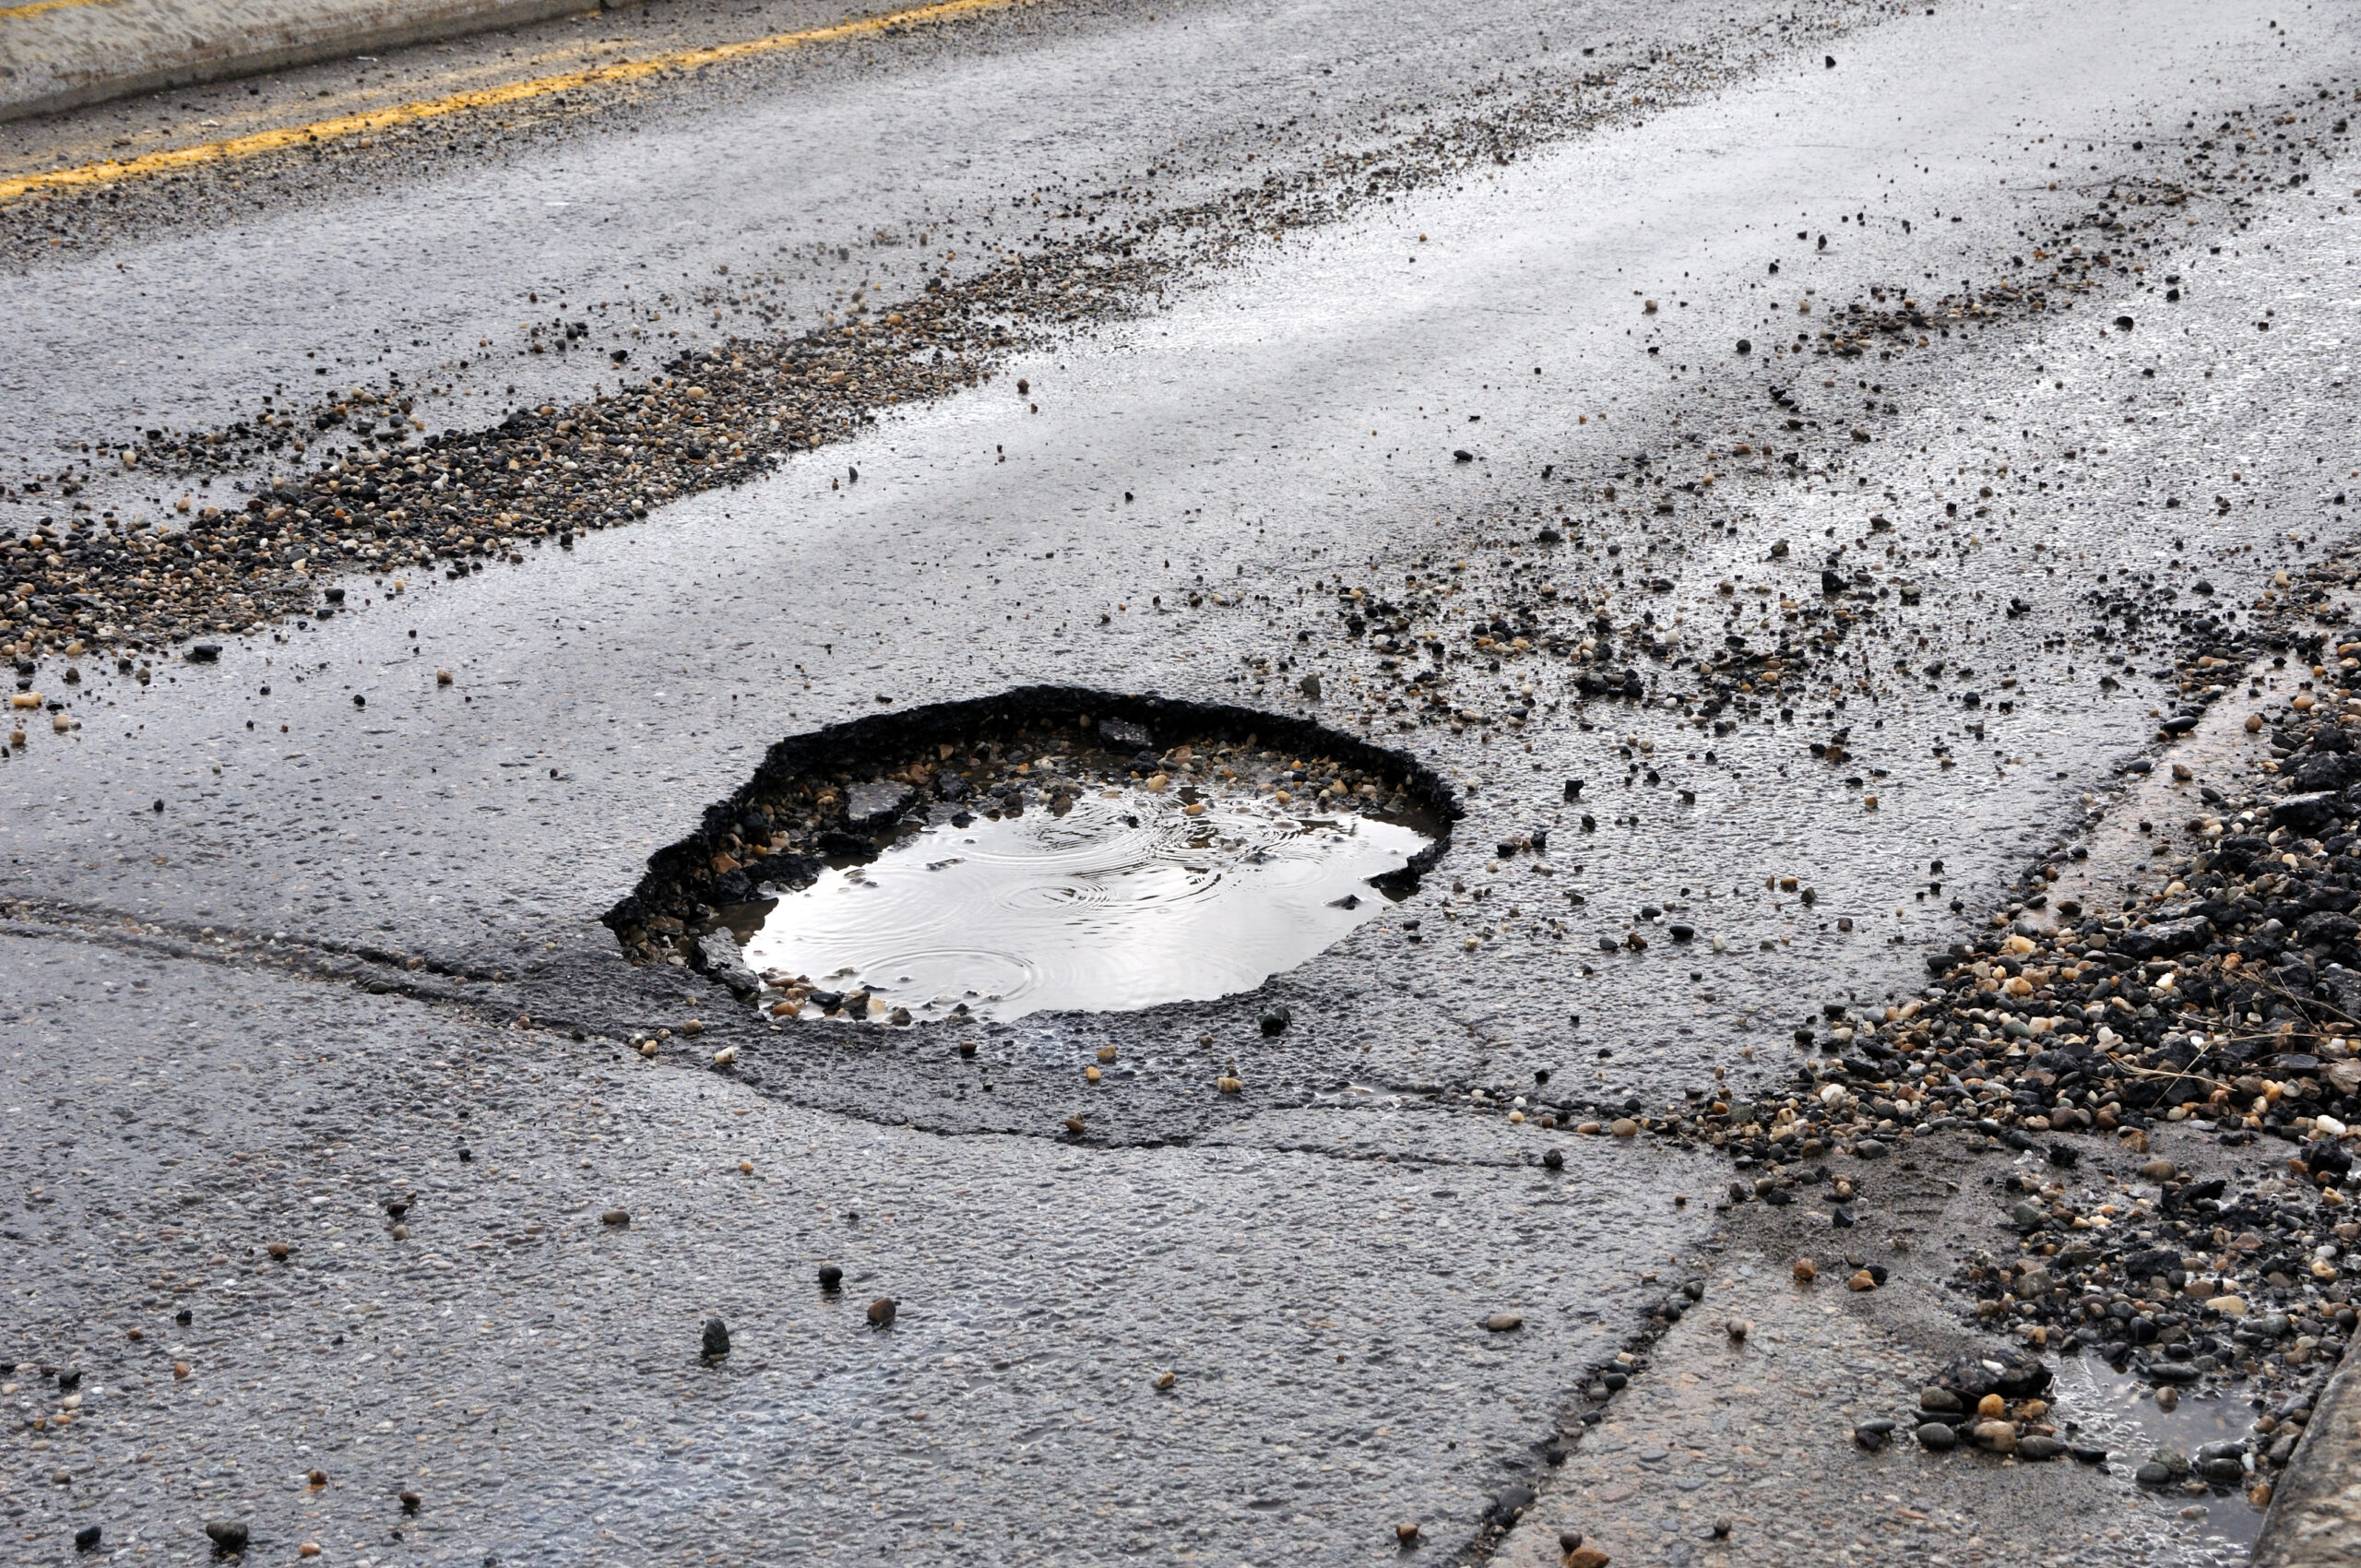
Winter weather can take seriously damage on concrete and asphalt. The freezing and thawing cycle, heavy snow, and ice can create cracks, potholes, and surface wear that are costly to repair. The good news? With some simple maintenance and the right products, like concrete safe ice melts, you can keep your surfaces in great shape all season long.
Here’s how to extend the life of your concrete and asphalt during winter months.
Why Winter Causes Surface Damage
The freeze-thaw cycle is one of the main reasons behind winter damage. Water seeps into cracks or pores in your concrete or asphalt, freezes, and expands. This pushes apart the concrete or asphalt material, widening cracks and weakening the structure.
To make matters worse, overuse of de-icing products like road salt can sometimes accelerate surface deterioration. That’s why it’s important to use the right products like treated bulk road salt or specific ice melt salt minimize damage while keeping your property safe.
Seal Cracks and Joints Before Winter
Small cracks may not seem like a big deal, but they can quickly turn into expensive repairs. Sealing cracks and joints in your asphalt or concrete before winter arrives can prevent water from getting in and freezing.
For asphalt, patch repairs work well to fill potholes or depressions. For concrete, flexible sealants create a waterproof barrier that protects the surface from moisture. This simple step goes a long way toward preventing winter damage.
Choose High-Quality Ice Melt Salt
Not all de-icers are the same. Traditional rock salt is effective at melting ice, but it can be harsh on concrete and asphalt. Modern ice melt options like Polar Ice Melt or Purple Heat Ice Melt are designed to work in extremely cold temperatures while being gentler on surfaces.
These products:
- Melt ice quickly and efficiently.
- Include anti-caking agents for easy spreading.
- Use dyes (blue or purple) to help with controlled application.
Using high-quality ice melt salt creates safe surfaces without overloading them with chemicals that could cause damage.
Be Smart About Road Salt Usage
Road salt is necessary for keeping parking lots, driveways, and roads safe, but too much can harm surfaces over time. The chlorides in salt can react with concrete, causing it to weaken.
To reduce this risk:
- Apply bulk road salt or any ice melt salt products sparingly.
- Use treated salts, which include additives like magnesium chloride for better performance.
- Choose concrete safe ice melts that are designed to minimize damage.
- Sweep up excess salt once the ice melts.
Also, treated bulk road salt often works more effectively, so you need less of it to achieve the same results.
Improve Drainage to Prevent Ice Build-Up
Standing water is another major cause of winter surface damage. If water pools on your driveway or parking lot, it can freeze and expand, worsening cracks and weakening the material.
To reduce this risk:
- Make sure your surfaces are properly graded to direct water away.
- Keep drains and gutters clear of debris.
- Add landscaping sand in icy spots for better traction.
Landscaping sand is an affordable, non-corrosive option for improving traction without adding stress to your surfaces. It’s especially useful for walkways or high-traffic areas where chemical de-icers may not be needed.
Protect Concrete with a Sealant
Concrete is more porous than asphalt, which makes it more susceptible to damage from water and de-icing chemicals. Applying a high-quality sealer before winter creates a protective barrier that repels water and prevents salt penetration.
Reapplying a sealer every one to two years is a simple and cost-effective way to keep concrete surfaces durable during winter.
Clear Snow Safely
Snow removal is essential in winter, but it can also cause damage if not done correctly. Metal-edged shovels and snowplows can scratch or chip surfaces, making them more vulnerable to moisture and freezing.
To prevent damage:
- Use plastic or rubber-edged shovels.
- Adjust snowplow blades to reduce direct contact with the surface.
- Clear snow promptly to limit ice build-up.
Pair snow removal with light applications of bulk road salt or concrete safe ice melts with landscaping sand to keep surfaces safe and slip-free.
Regular Inspections Matter
The best way to prevent major surface issues is to address small problems early. Walk your property during winter to check for cracks, standing water, or uneven areas. Quick repairs can keep minor issues from turning into costly damage.
At the end of the season, clean your surfaces thoroughly to remove leftover ice melt salt, landscaping sand, and other debris. This will keep your concrete and asphalt looking clean and ready for spring.
Rely on the Right Products
The products you choose play a big role in keeping your surfaces in good condition during winter. High-quality options like treated bulk road salt and advanced ice melt salt products melt ice efficiently while being less harsh on concrete and asphalt.
Kilgore Landscape Center offers a wide selection of de-icing solutions, including eco-friendly options that are safer for the environment. Their team can help you choose the right products for your needs and provide expert advice on how to apply them effectively.
Polar Ice Melt
Polar Ice Melt is made for extreme cold, working in temperatures as low as -25°F. Its formula, which includes sodium chloride, liquid magnesium chloride, and sodium silicate, make is one of the concrete safe ice melts compared to traditional rock salt. The blue dye ensures even application, reducing overuse that can harm surfaces. It also resists tracking, so there’s less residue inside homes and buildings. By minimizing freeze-thaw cycles and chemical stress, Polar Ice Melt is ideal for residential and commercial use.
Purple Heat Ice Melt
Purple Heat Ice Melt is another great option, working down to -15°F. With an 8% magnesium chloride blend, it’s gentler on concrete and asphalt while still being highly effective. The purple dye helps ensure controlled application, protecting surfaces by avoiding overuse. Purple Heat is pet-friendly, environmentally safer, and helps prevent cracks and pitting caused by freeze-thaw cycles, making it a smart choice for homeowners.
Treated Bulk Road Salt
Treated bulk road salt, Type C White, is enhanced with magnesium chloride, which lowers the freezing point of water and reduces freeze-thaw cycles that can crack surfaces. An anti-caking agent ensures smooth application and minimizes waste, making it a practical choice for large areas like parking lots and roads. This product provides reliable de-icing while being easier on concrete and asphalt, extending the life of your surfaces during winter.
Final Tips
Protecting concrete and asphalt during winter is all about preparation and smart maintenance. By sealing cracks, using the right de-icers like road salt, and improving drainage with landscaping sand, you can keep your surfaces in great shape for years to come.
For high-quality products like concrete safe ice melts and other winter maintenance solutions, visit Kilgore Landscape Center. Their team is ready to help you keep your property safe and your surfaces protected all winter long.


